
The upgrade of a vintage light fixture has significantly enhanced the functionality and aesthetics of a laundry room. This project involved selecting a suitable replacement fixture, addressing any electrical considerations, and executing the installation. The outcome has transformed the space from a purely utilitarian area into one that is both more inviting and efficient.
Before commencing any upgrade, a thorough assessment of the original lighting setup is crucial. This step allows for the identification of deficiencies and the formulation of an effective plan.
Identifying Areas of Inadequacy
The original lighting in the laundry room presented several limitations. Tasks such as sorting laundry, ironing, and folding often required supplementary lighting due to insufficient overhead illumination. Shadows were prevalent, making it difficult to clearly see fabric colors or identify stains. Furthermore, the existing fixture may have been outdated in terms of energy efficiency and light output, contributing to a dimmer and less productive environment.
Insufficient Illuminance Levels
The primary issue identified was the low level of illuminance, or brightness, provided by the existing fixture. This can be quantified using lux or foot-candle measurements. Low illuminance levels contribute to eye strain and can make intricate tasks more challenging. For a laundry room, where tasks require a degree of precision, adequate lighting is not merely a comfort but a functional necessity.
Poor Light Distribution
Beyond the overall brightness, the distribution of light was also problematic. The original fixture might have cast harsh shadows in certain areas while leaving others dimly lit. This unevenness created a visually jarring space and meant that light was not being effectively utilized where it was needed most. Think of it like trying to read a book with a single, weak light source; some parts of the page are clear, while others remain shrouded in darkness.
Outdated Technology
Older light fixtures often utilize incandescent bulbs, which are significantly less energy-efficient than modern LED alternatives. They also generate more heat, which can be an unwelcome factor in a room where appliances already contribute to the ambient temperature. The lifespan of incandescent bulbs is also considerably shorter, necessitating more frequent replacements.
Consideration of Functional Requirements
A laundry room serves specific purposes. Understanding these functions is key to selecting an appropriate lighting solution.
Task-Specific Lighting Needs
Sorting clothes, pre-treating stains, ironing, and folding all represent distinct tasks that benefit from varied lighting conditions. For instance, tasks requiring close inspection, such as checking for stains, may benefit from a brighter, more focused light. Ironing, on the other hand, requires a broad, even light that minimizes shadows cast by raised seams or wrinkles.
Impact on Color Perception
Accurate color perception is vital for effective laundry sorting. Dim or inaccurately colored light can lead to misplaced items or accidental bleaching. The color rendering index (CRI) of a light source is a measure of how accurately it displays colors compared to natural light. A higher CRI is desirable in a laundry room for this reason.
User Comfort and Safety
Adequate lighting contributes to user comfort by reducing eye strain. It also enhances safety by illuminating the floor to prevent trips and falls, particularly around the washing machine and dryer where water may be present.
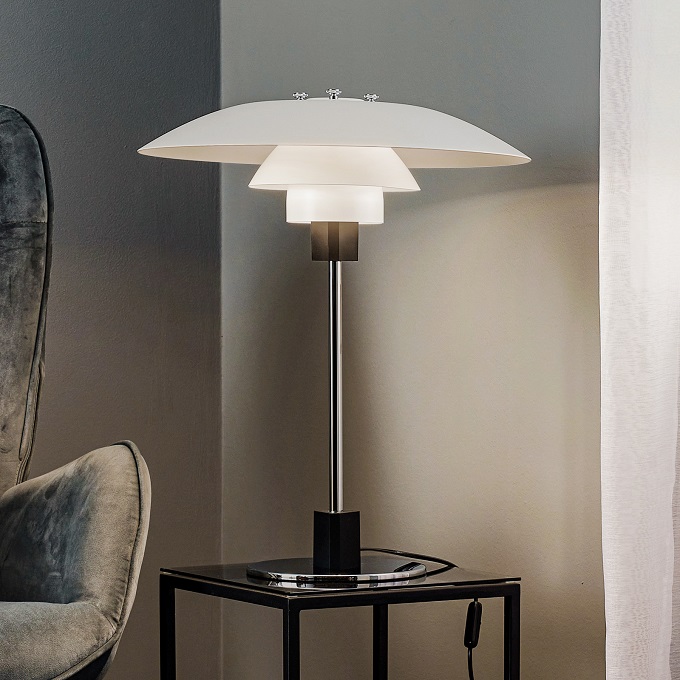
Selection of the Vintage-Inspired Replacement Fixture
Choosing the right replacement fixture is a pivotal stage of the project. The goal is to integrate a fixture that complements the existing decor while meeting modern lighting standards.
Identifying Suitable Styles
The term “vintage” encompasses a broad range of design periods. Careful consideration of the overall style of the home and the laundry room is necessary.
Period-Appropriate Aesthetics
If the home has a specific architectural style (e.g., Victorian, Art Deco, Mid-Century Modern), selecting a fixture that aligns with that era can create a cohesive look. This might involve fixtures with specific materials like brass or brushed nickel, or with particular shapes such as globes or sconces. The aim is to harmonize with the existing architectural narrative of the house.
Material and Finish Considerations
The materials used in vintage fixtures, such as polished brass, wrought iron, or opaque glass, contribute to their character. Compatibility with the chosen finish (e.g., chrome, matte black) and the overall color palette of the laundry room is important. The finishes themselves can subtly influence the perceived warmth or coolness of the light.
Prioritizing Modern Functionality within a Vintage Design
The challenge lies in finding a fixture that looks vintage but performs with modern efficiency.
LED Compatibility
Many modern vintage-style fixtures are designed to accommodate LED bulbs. This is a significant advantage as LEDs offer superior energy efficiency, longer lifespan, and a wider range of color temperatures compared to older bulb types. The integration of LED technology within a classic design is a harmonious marriage of form and function.
Diffused Lighting Solutions
Some vintage fixtures, particularly those with opaque or frosted glass shades, naturally lend themselves to diffused lighting. This type of lighting is excellent for preventing glare and creating a softer, more ambient atmosphere. Diffused light acts like fog on a landscape, softening harsh edges and creating a more gentle illumination.
Adjustable or Multi-Bulb Options
For rooms with varying lighting needs, fixtures with multiple bulbs or directional adjustments can provide flexibility. This allows for targeted lighting where it’s most needed, such as over a large countertop or work surface.
Electrical Considerations and Preparation
Before physical installation, a careful evaluation of the existing electrical system and necessary preparations are paramount to ensure safety and compliance.
Assessing the Existing Wiring
The wiring in older homes may not always meet current electrical codes or be sufficient for higher wattage fixtures.
Wiring Capacity and Condition
It is essential to verify that the existing wiring can safely handle the power requirements of the new fixture. Older wiring may be brittle or have compromised insulation, necessitating replacement. An electrician can assess the gauge of the wire and its overall condition. Think of the electrical wires as the veins of the house; they need to be healthy and robust to carry the electrical current.
Grounding Requirements
Modern electrical codes mandate proper grounding for safety. If the existing fixture is not grounded, the new wiring or fixture installation will need to incorporate a grounding wire to prevent electrical shock.
Safety Precautions and Regulations
Adhering to electrical safety standards is non-negotiable.
Local Building Codes
Familiarity with and adherence to local building codes and electrical regulations ensures that the installation is safe and legal. These codes are the rulebook for electrical work, designed to protect occupants.
Professional Consultation
For individuals without extensive electrical experience, consulting with a qualified electrician is strongly recommended. They can identify potential hazards, perform necessary upgrades, and ensure the installation is carried out correctly. Attempting complex electrical work without proper knowledge is akin to performing surgery without a medical degree – it carries significant risks.
Installation Process and Execution
The physical installation of the light fixture requires careful execution, attention to detail, and adherence to safety protocols.
Safety First: Power Disconnection
The absolute first step in any electrical installation is to ensure the power to the circuit is disconnected.
Locating and Tripping the Breaker
The specific circuit breaker controlling the laundry room light should be identified in the electrical panel and switched off. Using a non-contact voltage tester to confirm that the power is indeed off at the fixture location provides an extra layer of security. This is the electrical equivalent of closing the valve before working on a pipe.
Verification of Power Absence
Even after tripping the breaker, it is prudent to test the wires at the fixture to ensure they are de-energized before proceeding.
Wiring and Fixture Attachment
Once the power is confirmed off, the wiring and mounting of the fixture can commence.
Connecting the Wires
Following the manufacturer’s instructions and standard electrical practices, the wires from the fixture are connected to the corresponding wires in the ceiling box (typically black to black for hot, white to white for neutral, and green or bare copper to the ground wire). Wire nuts are commonly used to secure these connections, ensuring they are tight and insulated.
Securing the Fixture to the Mounting Bracket
The fixture is then attached to the electrical box’s mounting bracket, ensuring it is securely fastened to prevent it from becoming loose over time. The weight of the fixture must be adequately supported by the mounting hardware.
Testing and Finalization
After the physical installation is complete, a thorough test is required.
Restoring Power and Functionality Test
With all connections made and the fixture securely mounted, the circuit breaker can be reset. The light switch should then be tested to verify that the new fixture illuminates correctly.
Checking for Any Issues
Observe the light for any flickering or irregularities. Ensure the fixture is stable and properly seated.
The Impact of the Upgraded Lighting
The successful installation of the new vintage-inspired light fixture has yielded tangible benefits within the laundry room.
Enhanced Functionality and Productivity
The improved illumination directly impacts the ease with which tasks are performed.
Improved Visibility for Tasks
With brighter and more evenly distributed light, tasks such as reading care labels, spotting stains, and performing detailed cleaning are made simpler and more efficient. The shadows that once obscured details are now largely absent, allowing for a clearer view. This is like upgrading from a dim flashlight to a well-lit workspace; the difference in clarity and precision is significant.
Reduced Eye Strain
The comfortable level of illumination reduces the visual fatigue associated with working in dimly lit environments. This leads to a more pleasant experience when spending time in the laundry room.
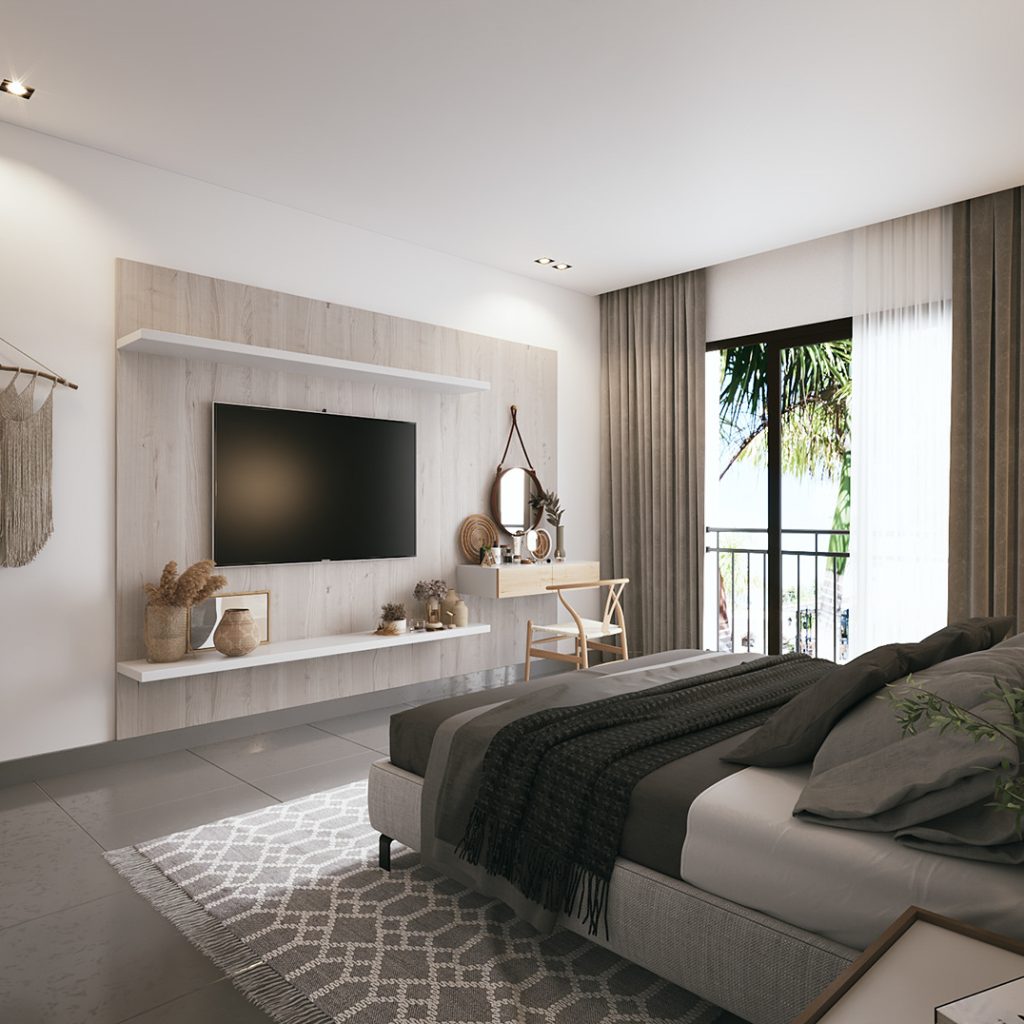
Aesthetic Improvement of the Space
Beyond its functional advantages, the new fixture contributes positively to the room’s overall appearance.
Revitalized Ambiance
The chosen vintage-style fixture, with its appropriate design and warm light (if a warmer color temperature was selected), can imbue the laundry room with a more inviting and less utilitarian atmosphere. It shifts the perception of the room from a mere utility space to an integrated part of the home’s design.
Cohesive Design Integration
By selecting a fixture that complements the home’s existing decor, the laundry room now feels more thoughtfully designed and less like an afterthought. The light fixture acts as a visual anchor, tying the room into the broader aesthetic.
Energy Efficiency and Sustainability
The move to modern lighting technology, often integrated into vintage designs, offers practical benefits.
Reduced Energy Consumption
LED bulbs, commonly used in upgraded fixtures, consume significantly less electricity than their incandescent predecessors. This reduction in energy use translates to lower utility bills over time, making the upgrade a sustainable choice.
Extended Lifespan and Reduced Waste
The longer lifespan of LED bulbs means fewer replacements are needed, leading to less frequent purchases and reduced waste. This contributes to a more environmentally friendly approach to home maintenance. The upgrade, therefore, acts as a small but meaningful step towards a more sustainable household.