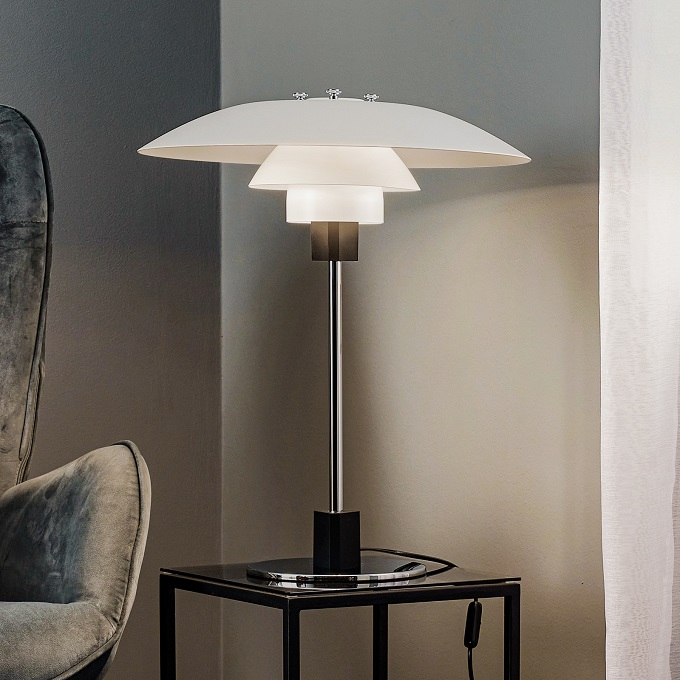


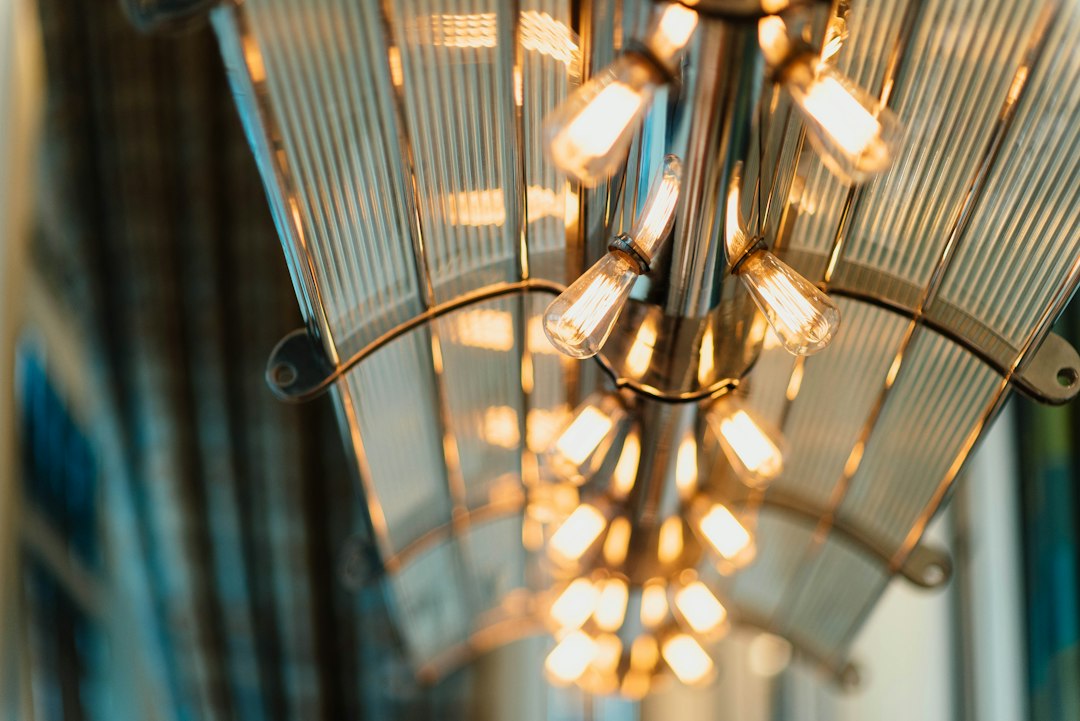
Good lighting isn’t just about illuminating a room; it’s about creating atmosphere, highlighting features, and often, adding a touch of timeless elegance. Keeping those fixtures sparkling isn’t as daunting as it might seem. With a bit of regular care and the right approach, your cherished lamps and chandeliers can maintain their shine and functional beauty for years, even decades. This guide is all about giving you the practical know-how to keep your lighting looking its best, without the fuss.
Understanding Your Lighting Fixtures
Before you grab a cloth or a bottle of cleaner, it’s really helpful to get acquainted with the different types of lighting you might have and what they’re made of. This isn’t just for curiosity’s sake; it directly influences how you’ll clean and maintain them. Treating a delicate crystal chandelier the same way you’d clean a robust outdoor sconce can lead to mishaps, so a little pre-inspection goes a long way.
Common Materials and Their Quirks
Lighting fixtures come in a fantastic array of materials, each with its own specific needs. Knowing what you’re dealing with prevents damage and ensures an effective clean.
Metals
Most fixtures feature some kind of metal, whether it’s the primary structure or decorative accents.
- Brass and Bronze: These metals often develop a rich patina over time, which some people love. If you prefer a polished look, you’ll need specific brass/bronze cleaners and a soft cloth to avoid scratching. Unlacquered brass will tarnish quickly; lacquered brass holds its shine longer but can chip.
- Polished Chrome and Nickel: These are generally easier to clean. A damp cloth with a mild dish soap solution, followed by a dry buff, usually does the trick. Avoid abrasive cleaners that can scratch the finish.
- Wrought Iron: Often textured and sometimes painted, wrought iron usually just needs a good dusting and occasional wipe-down with a damp cloth. Check for any flaking paint if it’s an older piece.
- Copper: Similar to brass, copper develops a patina. If you want to restore its shine, use a specialized copper cleaner or a homemade solution of lemon juice and salt, followed by a thorough rinse and dry.
- Aluminum: Lightweight and often painted or anodized, aluminum is typically low-maintenance. A damp cloth and mild soap are usually sufficient.
Glass and Crystal
These materials are all about sparkle and light refraction, so keeping them clear is paramount.
- Clear Glass: From simple shades to intricate designs, clear glass needs to be streak-free. A window cleaner or a vinegar-and-water solution works well.
- Frosted or Etched Glass: These can be a bit trickier because residues can settle into the texture. Use a soft brush for dusting, and a gentle soapy water solution for cleaning, making sure to rinse thoroughly to avoid soap spots.
- Crystal: This is where you really want to be careful. Lead crystal is heavier and refracts light beautifully. Non-lead crystal is also common. For chandeliers, individual crystals might be removable for a deep soak, or they may need to be cleaned in place with a specialized spray. Always use lint-free cloths.
Fabrics and Papers
Often found on lampshades, these add warmth and texture.
- Fabric Shades: Dust with a lint roller, vacuum with an upholstery attachment, or gently wipe with a damp cloth, depending on the fabric type. Always spot test for colorfastness.
- Paper Shades: These are delicate. Usually, just gentle dusting with a soft brush or a dry cloth is all you can do. Avoid moisture unless explicitly stated by the manufacturer, as it can cause warping or staining.
Wood
Less common for the main structure of a light fixture, but often used for bases or decorative elements.
- Wood: Treat wooden components like any other fine wood furniture. Dust regularly and use a wood-specific cleaner or polish sparingly, avoiding oversaturation.
Safety First: Before You Begin
This might sound obvious, but it’s the most critical step. Anytime you’re working with electrical fixtures, safety is paramount.
Power Down
Always, always turn off the power at the circuit breaker before touching any light fixture. Flipping the wall switch isn’t enough; someone could accidentally turn it back on. Label the breaker if possible so no one inadvertently restores power while you’re working.
Let It Cool
Bulbs and fixtures can get hot. Give them ample time to cool down completely before you start cleaning, especially if you plan on removing bulbs or touching glass shades.
Stable Footing
If you’re cleaning a ceiling fixture, use a sturdy step ladder or scaffold. Don’t rely on chairs or flimsy stools. Make sure someone is there to spot you if you’re on a tall ladder.
Essential Tools and Cleaning Solutions
Having the right gear makes the job easier and more effective. You don’t need a huge arsenal, just a few key items that are versatile and safe for your fixtures. Avoid harsh chemicals, as they can damage finishes and even compromise the integrity of some materials over time.
Basic Cleaning Supplies
These are your everyday heroes for light fixture maintenance.
Soft Dusting Tools
- Microfiber cloths: Excellent for dusting, buffing, and cleaning glass without leaving lint. Have several on hand – dry ones for dusting, damp ones for cleaning.
- Soft brushes: A clean paintbrush, a soft-bristled toothbrush (for intricate details), or a feather duster can reach into nooks and crannies.
- Lint roller: Perfect for quickly removing dust and pet hair from fabric lampshades.
- Vacuum cleaner with brush attachment: For more thorough dust removal on shades and some larger fixtures.
Gentle Cleaning Liquids
- Mild dish soap: A few drops in warm water is a fantastic all-purpose cleaner for most non-porous surfaces like metal and glass.
- Distilled water: Reduces water spots and mineral buildup, especially important for crystal and polished metals.
- White vinegar: Diluted with distilled water (50/50 or less vinegar) makes an excellent streak-free cleaner for glass and can help with mineral deposits on some metals, but always test in an inconspicuous area first.
- Glass cleaner (ammonia-free): For glass components, an ammonia-free cleaner is best, as ammonia can damage some metal finishes or coatings.
- Specialized cleaners: For specific metals like brass or copper (if you want to remove patina) or for crystal chandeliers (drip-dry solutions). Always follow manufacturer instructions carefully.
Other Helpful Items
- Rubber gloves: Protect your hands from cleaning solutions and help prevent leaving fingerprints on polished surfaces.
- Drop cloths or old towels: Place these underneath the fixture to catch dust, drips, and any accidentally dropped parts.
- Small bowls or containers: Useful for soaking small detachable parts or keeping screws organized.
- Cotton swabs: Great for reaching tiny crevices.
- Lens cleaning solution and cloths: For any optical components or very sensitive glass.
What to Avoid
Just as important as knowing what to use is knowing what to skip.
- Abrasive sponges or scrubbers: These will scratch delicate finishes, especially on polished metals and glass.
- Harsh chemical cleaners (e.g., ammonia-based, bleach, oven cleaner): These can damage finishes, dull metals, and react poorly with various materials. Always check product labels.
- Excessive water: Never spray water directly onto electrical components. A damp cloth is usually sufficient for most surfaces. For fixtures that can be disassembled, ensure parts are completely dry before reassembling.
- Silicone-based polishes on certain plastics: Some plastics used in diffusers can react poorly, becoming cloudy or sticky.
Regular Dusting and Light Cleaning
The easiest way to keep your fixtures looking good and minimize the need for deep cleaning is to simply dust them regularly. Think of it as preventative maintenance. A quick pass every week or two can make a significant difference.
The Weekly Wipe-Down
This isn’t a major overhaul; it’s just part of your general cleaning routine.
General Fixtures
- Lampshades: Use a lint roller or the brush attachment of your vacuum cleaner on a low setting for fabric shades. For paper or delicate shades, a soft, dry brush or microfiber cloth is best.
- Bulbs: Gently wipe cool bulbs with a dry microfiber cloth to remove dust. Dust on bulbs can actually dim their output and even create hotspots.
- Bases and Stems: For most metal, wood, or ceramic bases, a quick wipe with a dry microfiber cloth is usually enough. If you see fingerprints, a slightly damp cloth followed by a dry buff works.
Ceiling Fixtures and Wall Sconces
- Dusting: Use a long-handled feather duster or an extendable microfiber duster to reach high fixtures. If you can safely reach them, a gentle wipe with a dry microfiber cloth is even better.
- Glass and Diffusers: For everyday cleaning, a dry microfiber cloth will remove most surface dust. If you see light smudges, a very slightly damp cloth can be used, followed by a dry buff. Remember to ensure the power is off and the fixture is cool.
Addressing Minor Smudges and Fingerprints
These happen, especially on frequently touched lamps or polished surfaces.
Polished Metals
- Use a clean, dry microfiber cloth for a quick buff. If fingerprints persist, a very lightly dampened cloth with a tiny drop of mild dish soap, followed by a thorough dry with another clean cloth, usually works.
Glass and Acrylic
- For small smudges, a spritz of ammonia-free glass cleaner on a microfiber cloth (never directly onto the fixture) and then wiping the glass clean is effective. For acrylic, use a cleaner specifically designed for plastics, or just mild soapy water.
Why Regular Dusting Matters
Beyond aesthetics, there are practical benefits to keeping your light fixtures dust-free.
- Improved Light Output: Dust and grime on bulbs and diffusers can significantly reduce the amount of light emitted, making your space appear dimmer than it should be.
- Reduced Fire Hazard: While rare, a thick accumulation of dust on hot light bulbs can pose a fire risk. Keeping them clean is a simple safety measure.
- Longevity of Finishes: Dust can contain abrasive particles that, over time, can subtly scratch or dull delicate finishes if left undisturbed. Regular gentle removal helps preserve the material.
Deep Cleaning Specific Fixtures
Sometimes, a quick dusting isn’t enough. For stubborn grime, heavy dust buildup, or just an annual refresh, a more thorough deep clean is in order. This is where you might need to get a little more involved, potentially disassembling parts.
Chandeliers and Crystal Fixtures
These are often the most intimidating, but with patience, they can sparkle like new.
Cleaning in Place (for simpler designs or when disassembly isn’t practical)
- Safety First: Turn off power at the breaker and allow to cool. Lay down drop cloths.
- Initial Dusting: Use a feather duster or a soft brush to remove loose dust.
- Specialized Spray: Purchase a chandelier cleaning spray designed for drip-drying. These usually contain a solution that breaks down grime and evaporates without leaving streaks.
- Spray Application: Generously spray the solution onto the crystals, ensuring good coverage. Place old towels or a bucket directly underneath to catch the drips.
- Drip-Dry: Allow the solution to drip dry completely. Do not wipe it. The magic of these solutions is in their self-drying properties. You might need to rotate the fixture or gently nudge crystals to ensure even dripping.
- Final Buff (Optional): Once completely dry, you can very gently buff any remaining dull spots with a lint-free microfiber cloth and clean cotton gloves.
Disassembly and Soaking (for intricate designs or heavily soiled fixtures)
This method yields the best results but requires more time and careful organization.
- Safety First: Turn off power at the breaker and allow to cool. Lay down drop cloths.
- Photograph Everything: Before you remove a single crystal, take numerous photos from different angles. This will be your invaluable guide for reassembly.
- Remove Crystals: Carefully unhook each crystal, noting its position. Place them in separate bowls if certain types or sizes go in specific places.
- Clean the Frame: While the crystals are off, clean the chandelier frame itself. Use a soft, damp cloth with mild soapy water for most metals. Dry thoroughly. For more detailed metal cleaning, refer to the “Metals” section below.
- Soak Crystals: Fill a plastic basin with warm water and a few drops of mild dish soap or a specialized crystal cleaner. Gently place the crystals in the solution. For heavily soiled crystals, let them soak for 10-15 minutes.
- Rinse and Dry: Rinse each crystal under warm running water (distilled water is best to prevent spots). Place them on a lint-free towel to air dry completely, or gently buff with a lint-free cloth and cotton gloves. Ensure they are bone dry before reattaching.
- Reassemble: Using your photographs as a guide, carefully reattach each crystal. Take your time.
Glass Shades and Diffusers
These are usually removable and benefit greatly from a good wash.
- Safety First: Turn off power at the breaker and allow to cool.
- Remove Gently: Carefully remove the glass shades or diffusers. If they are secured with screws, keep the screws in a small container so they don’t get lost.
- Wash: Fill a sink or basin with warm water and a few drops of mild dish soap. Submerge the glass and wash with a soft cloth or sponge. For stubborn grime, a gentle scrub with a non-abrasive brush might be needed.
- Rinse and Dry: Rinse thoroughly under clean running water. For a streak-free finish, you can rinse with distilled water. Air dry completely on a clean towel or buff dry with a lint-free microfiber cloth.
- Reattach: Carefully reattach the clean, dry shades/diffusers to the fixture.
Metal Components and Frames
Cleaning metal requires a bit more nuance depending on the specific finish.
Lacquered Metals (Brass, Bronze, Nickel, Chrome)
- Mild Soap & Water: For most lacquered metals, a damp microfiber cloth with a mild dish soap solution is sufficient. Wipe down the entire surface, paying attention to crevices.
- Dry Thoroughly: Immediately dry with a clean, soft cloth to prevent water spots and preserve the lacquer. Do not use abrasive cleaners or polishes, as they can damage the lacquer.
Unlacquered Metals (Brass, Copper, Bronze)
- Patina Preservation: If you appreciate the natural patina, simply dust regularly and wipe with a dry cloth.
- Restoring Shine: If you want to restore the shine, you’ll need a specialized metal polish for that specific metal (e.g., brass polish, copper polish). Follow the product instructions carefully. Alternatively, a homemade paste of lemon juice and salt can clean copper and brass, but requires thorough rinsing and drying afterward.
- Buffing: Use a soft cloth to buff the metal to your desired shine.
Wrought Iron
- Dusting: Best cleaned with a soft brush or a dry cloth to remove dust from its often-textured surface.
- Wiping: For dirt, use a lightly damp cloth with a mild soap solution. Dry immediately. Check for any rust spots or flaking paint that might need touch-ups.
Fabric Lampshades
For anything beyond a quick dust.
- Vacuum: Use the upholstery attachment of your vacuum on a low setting to remove as much surface dust as possible.
- Spot Clean (Carefully): For specific stains, carefully blot with a clean cloth dampened with a very mild solution of warm water and a tiny bit of gentle fabric cleaner (like Woolite). Always spot test in an inconspicuous area first to ensure colorfastness and no water rings.
- Air Dry: Allow to air dry completely. Avoid saturating the fabric.
Wood Bases and Accents
- Dust: Use a soft, dry microfiber cloth.
- Clean (Sparingy): For grime, lightly dampen a cloth with a very mild wood cleaner or a touch of mild dish soap in water. Wipe sparingly.
- Polish (Optional): If desired, use a small amount of furniture polish specifically designed for wood, applied with a soft cloth, following product directions. Avoid getting polish on other materials.
Long-Term Care and Preventative Measures
Cleaning is one thing, but making sure your fixtures stay cleaner longer and function properly is another. A little proactive attention can save you a lot of effort down the road.
Choosing the Right Bulbs
It might seem unrelated to cleaning, but the type of bulb you use can impact how much heat and residue is produced, affecting your fixtures.
- LEDs: These are generally cooler running and use less energy, which means less heat exposure to your fixtures and less potential for dust to bake onto surfaces. They also last much longer, meaning fewer bulb changes.
- Halogens: Can run very hot, which can attract dust more readily and potentially damage delicate shades over time.
- Incandescent: Also produce a lot of heat.
Consider switching to LED bulbs where appropriate, not just for energy efficiency but also for the sake of your fixtures’ longevity.
Protecting Against Dust and Grime Buildup
Prevention is always better than cure.
- Regular Dusting Routine: As mentioned, this is your primary defense. Consistency is key.
- Air Purifiers: If you live in a particularly dusty environment or have pets, an air purifier can significantly reduce airborne particles that settle on your fixtures.
- Strategic Placement: Avoid placing delicate fixtures in high-traffic areas where they might get bumped or touched frequently, or in kitchens where grease can accumulate.
- Shade Protection: Some fabric shades can be treated with fabric protector sprays (always test first!) to help repel dust and stains, making them easier to clean.
Inspecting for Wear and Tear
While you’re cleaning, take a moment to really look at your fixtures. This can help you catch small issues before they become bigger problems.
- Wiring: Check for any frayed wires, exposed insulation, or discolored wiring, especially near the bulb socket. If you see any of these, consult a qualified electrician immediately.
- Sockets: Ensure bulb sockets are clean and free of corrosion. If a bulb is difficult to screw in or out, or if there’s flickering, the socket might need attention.
- Joints and Fasteners: For chandeliers and hanging fixtures, check that all joints, chains, and ceiling mounts are secure and free from excessive play. Tighten any loose screws carefully.
- Shade Frames: Look for any bent or broken wires on fabric or paper shades.
- Rust and Corrosion: Address small rust spots on metal fixtures as soon as you see them. Sand lightly and apply a rust-inhibiting primer and paint, or consult a professional for restoration.
- Crystal Pins: Ensure all pins holding crystals are secure and not bent or rusted.
Professional Cleaning and Maintenance
While most cleaning can be done at home, there are times when calling in the experts is a smart move.
- Very Old or Valuable Fixtures: Antiques, heirlooms, or extremely valuable pieces should be handled by professionals who specialize in lighting restoration.
- Extremely Intricate Designs: If a fixture is so complex that you’re worried about disassembly and reassembly, or if it’s very large and difficult to access safely.
- Electrical Issues: Any signs of electrical problems – flickering, buzzing, burning smells – require an electrician, not just a cleaner.
- Major Restorations: If the finish is severely damaged, components are broken, or rewiring is needed, a professional restorer is your best bet.
By incorporating these practices into your routine, your timeless lighting fixtures won’t just illuminate your home; they’ll continue to be captivating pieces of art, reflecting their enduring beauty and your thoughtful care.